Sorry for the hiatus, but I've been swamped making my products for our local Farmer's Market. The market is in full swing and the beautiful weather is contributing to some great days!
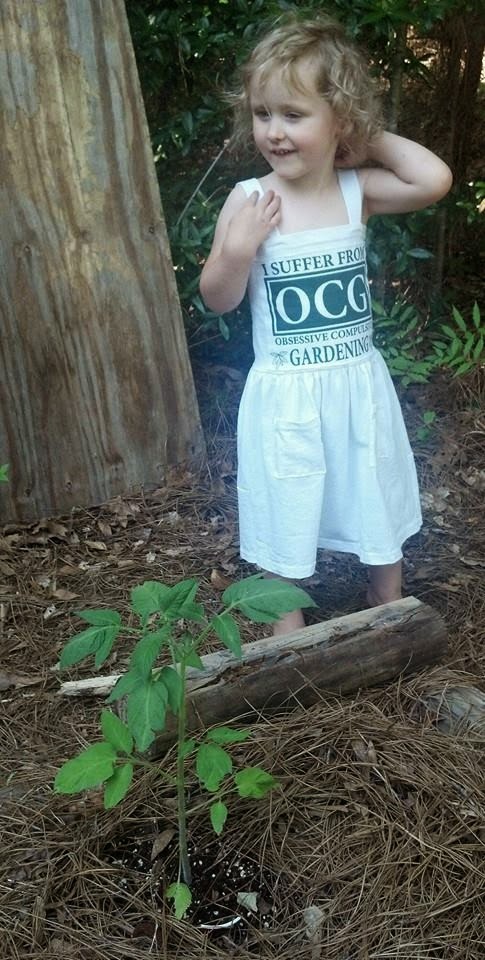
I've of course been doing a few projects for myself and my family too, but none of them were especially noteworthy until now. Yesterday, my mom gave me a white adult tee that had the best graphic on the front, hoping that I could alter it for Nia's use.
As you can see, I couldn't pass this up. Normally I'm not big on white fabric in general since we're fairly messy people, but I figured that stains would actually contribute to this outfit, so I went for it!
(Measurements are approximate and should fit a 3T. All seams are 1/4 inch unless otherwise specified.)
I decided to cut out the part of the graphic that I wanted since it was also an advertisement for a local garden supply company. I cut off the sleeves and up both sides so that I could work with the front and back independently. Once I cut out the graphic that would be my centerpiece, I then cut a strip from the bottom of the same side (including the hem) that was 8 inches tall. This was just big enough to fit my graphic piece, which I then appliqued in the center after turning it upside down so that the hem was now at the top. (By the way, in this case, I just stitched an 1/8 inch from the edges all the way around and left the edge raw, just to add some interest.) And with right sides together I stitched up the back seam. Now I had a tube.
For the skirt I took the front of the shirt and measured up about 13 inches from the bottom, once again including the hem. So, this piece was 13 inches tall x the width of the shirt (which was an adult large I think). This would be the front part of the skirt.
For the back, I didn't have a large enough piece left to match the front, so I cut the two sleeves at the seam, pieced them together, cut the top even, and then added another strip tall enough to match the skirt front.
Right sides together, I stitched the side seams to combine the front and back pieces of the skirt. Now I had another tube.
I did a basting stitch around the top of the skirt so that I could gather it to fit to my bodice (right sides together). Lots of gathering and pins later, I stitched the bodice and skirt using a narrow zigzag to give it some stretch.
With the remainder of the sleeve material (with hems attached) I cut two pockets (about 3x3) and appliqued them to the front of the skirt.
Finally, with the last of the large scrap pieces, I cut two strips that were 2x8 inches and stitched a seam down the length with wrong sides together, leaving the edges raw. I then placed these evenly at the front and back of the top, stitching along the existing "hem" stitch line to make my straps.
Now, time to get it stained!


No comments:
Post a Comment